Starting Halo by Jen Kingwell and Some Tips
I don't remember where I first saw it, but the moment I did, I knew I had to make Jen Kingwell's Halo quilt. The pattern is in the book Jenny From One Block. I also ordered the acrylic template set and received it right after the holidays.

What I loved about the quilt was a variety of elements, such as the square in a square in the middle of each block that is perfect for fussy cutting (I had been thinking about making an economy block quilt) and the corner circles that are like a drunkard's path with an extra circular piece (sorry, no idea what the technical term for it is). I was also drawn to the scrappy, soft look of the quilt and wanted to create a similar feel with my own version.
My friend Joan also was intrigued by Halo so we hoped to do a quilt along. I had to rapidly finish my Fractured quilt so I could start Halo guilt-free. :)
My fabric selection process:
Since I wanted a soft, scrappy look, I selected fabrics that were mostly lights and mediums, with just a few darks. I also pulled more fabrics that tended to have gray in them and used fewer clear colors. I avoided prints that were predominantly red and instead used a lot of pink fabrics. I looked for prints that were "sweet" and when possible, picked fabrics that had some significance for me (images, text, etc.). When I was not sure about a fabric, I asked myself, "Does this make me feel cozy? Do I want to snuggle up under this?"
My palette is mostly the following: pinks, oranges, yellows, greens, blue-greens, blues, navys, purples, grays, off-whites.
Some things that I found helpful when starting to cut blocks for this quilt:
28 mm Olfa rotary cutter (Don't even bother with the Fiskars, the Olfa is noticeably better, trust me)
Rotating cutting mat
True Grips adhesive circles for the acrylic templates (this was a game changer for me)
Curved Piecing:
I tried a few different methods for the curved piecing in this quilt. There are some great videos out there that help you avoid pins and piece more quickly. I so wanted these methods to work for me! I tried the one where you glue baste the the curved pieces and then just sew. My wedge shapes turned out too small. I tried one where you use no pins or glue. One wedge shape turned out fantastically and the other five were misaligned. I suspect the reason that these two techniques did not work for me is that the pie wedge shape is small and a fairly steep curve.
Ultimately, what worked for me was folding each of the curved pieces in half and finger pressing to find the mid point. I then pinned the middle, beginning, and end and sewed with the longer outer piece on top and the quarter circle on the bottom. Even with doing this method, I struggled to get consistent results until I varied how I fed the fabric into the machine. What worked for me is difficult to describe in words but I kept the bulk of the fabric to the left of the presser foot and really curved it to the left, then eased the two pieces together under the needle. Pulling the fabric to the left in the deep curve it naturally tends toward reduced pleats in the fabric, made sewing faster and easier, and gave me more consistent results of two curved pieces fitting together.


I can't tell you how much I am enjoying making this quilt! The fabric selection process is so fun and I am so happy to at last be using "special" fabrics that I have been hoarding. It is really interesting to watch the blocks come together and then to see the quilt grow. It seems to get more interesting as I add more blocks. I am planning to make a bed quilt, so I think I will have to double the number of blocks in the pattern to get a full size quilt.

What I loved about the quilt was a variety of elements, such as the square in a square in the middle of each block that is perfect for fussy cutting (I had been thinking about making an economy block quilt) and the corner circles that are like a drunkard's path with an extra circular piece (sorry, no idea what the technical term for it is). I was also drawn to the scrappy, soft look of the quilt and wanted to create a similar feel with my own version.
My friend Joan also was intrigued by Halo so we hoped to do a quilt along. I had to rapidly finish my Fractured quilt so I could start Halo guilt-free. :)
My fabric selection process:
Since I wanted a soft, scrappy look, I selected fabrics that were mostly lights and mediums, with just a few darks. I also pulled more fabrics that tended to have gray in them and used fewer clear colors. I avoided prints that were predominantly red and instead used a lot of pink fabrics. I looked for prints that were "sweet" and when possible, picked fabrics that had some significance for me (images, text, etc.). When I was not sure about a fabric, I asked myself, "Does this make me feel cozy? Do I want to snuggle up under this?"
My palette is mostly the following: pinks, oranges, yellows, greens, blue-greens, blues, navys, purples, grays, off-whites.
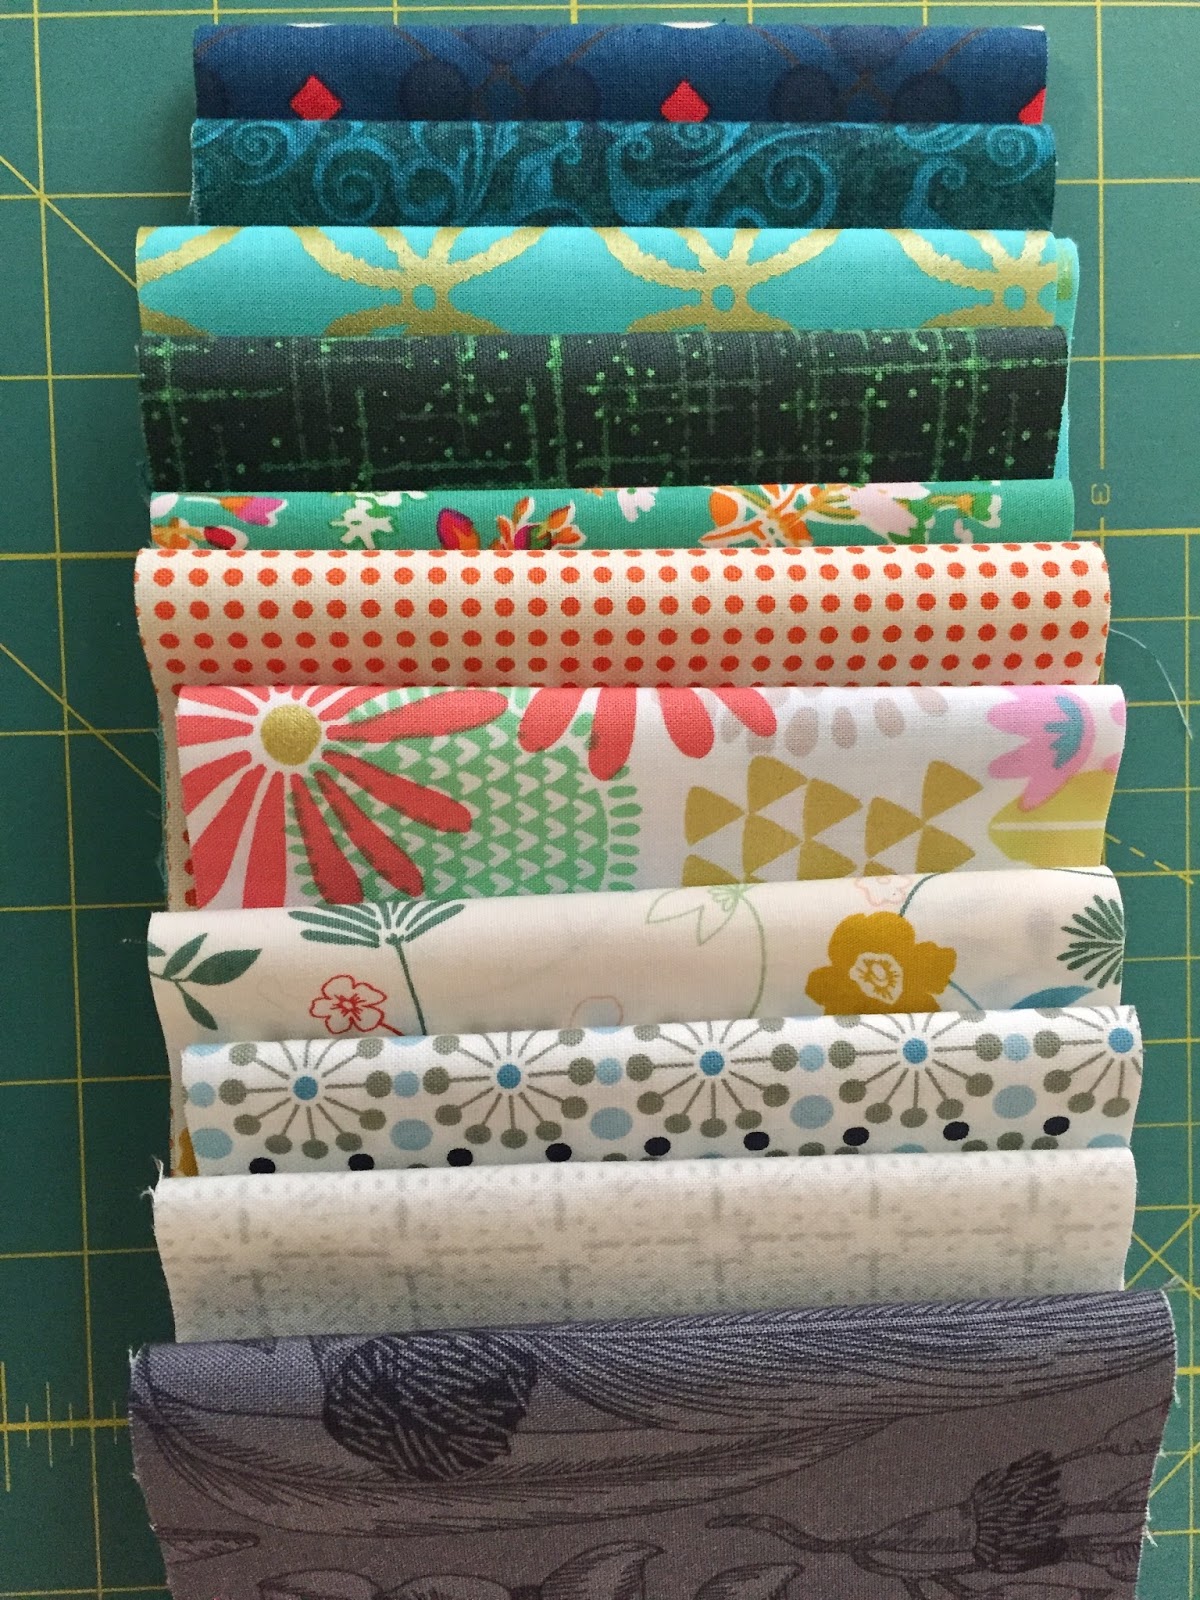 |
| An injection of new fabrics for the quilt from my LQS, Stitch Your Art Out |
Some things that I found helpful when starting to cut blocks for this quilt:
28 mm Olfa rotary cutter (Don't even bother with the Fiskars, the Olfa is noticeably better, trust me)
Rotating cutting mat
True Grips adhesive circles for the acrylic templates (this was a game changer for me)
 |
| Cut blocks waiting for assembly |
Curved Piecing:
I tried a few different methods for the curved piecing in this quilt. There are some great videos out there that help you avoid pins and piece more quickly. I so wanted these methods to work for me! I tried the one where you glue baste the the curved pieces and then just sew. My wedge shapes turned out too small. I tried one where you use no pins or glue. One wedge shape turned out fantastically and the other five were misaligned. I suspect the reason that these two techniques did not work for me is that the pie wedge shape is small and a fairly steep curve.
Ultimately, what worked for me was folding each of the curved pieces in half and finger pressing to find the mid point. I then pinned the middle, beginning, and end and sewed with the longer outer piece on top and the quarter circle on the bottom. Even with doing this method, I struggled to get consistent results until I varied how I fed the fabric into the machine. What worked for me is difficult to describe in words but I kept the bulk of the fabric to the left of the presser foot and really curved it to the left, then eased the two pieces together under the needle. Pulling the fabric to the left in the deep curve it naturally tends toward reduced pleats in the fabric, made sewing faster and easier, and gave me more consistent results of two curved pieces fitting together.


I can't tell you how much I am enjoying making this quilt! The fabric selection process is so fun and I am so happy to at last be using "special" fabrics that I have been hoarding. It is really interesting to watch the blocks come together and then to see the quilt grow. It seems to get more interesting as I add more blocks. I am planning to make a bed quilt, so I think I will have to double the number of blocks in the pattern to get a full size quilt.
 |
| Current progress |


Comments